Five Simple Tips to Improve Your JavaScript Programs
Written by Ace | November 22nd, 2020 | Technology
Programming is a never-ending process. As you engage in new, bigger, and more complex programs, and learn new techniques, you grow as a programmer. Your programs also need to grow, too, so here are five simple tips you can implement to improve your JavaScript (JS) projects.
Tip #1: Comments
Comments are messages you can leave for yourself or another human that the editor will ignore. There are two kinds of comments in JavaScript.
Single-Line Comment
These take up only a single line. Use these if you’re only typing a couple of words or a short phrase to describe what a piece of code does. To add this type of comment, simply type two forward-slashes and follow them with your message.
Example: //A function to draw avocados.
You’ll know if you typed the comment correctly because the slashes and the phrase that follows will appear green.
Common Error: Make sure you DON’T press “enter” when you’re using a single-line comment, because anything else that follows will be treated like regular code and you’ll end up with an error message.
Multi-Line Comment
If you want to type out more detailed explanations that are several sentences long, then use a multi-line comment. To add this type of comment, start with a forward-slash, type a star, add another star, and end with a forward-slash. You’ll put your message after the first star and before the second star.
Example:
/*This program is meant to draw avocados on a tree.
To make the avocados fall off the tree, ‘shake’ it by clicking on the trunk.*/
Like the single-line comment, these comments will change color and appear green.
A special type of multi-line comment, which you can use for emphasis, involves adding two stars (*) instead of one at either end.
Example: /**AVOCADO**/
This comment will appear blue instead of green. I like to use these comments to indicate new sections in my code when I’m creating more complex projects.
Common Errors: Don’t forget to close your comment! Make sure that each comment ends with a */ or a **/. Also, DON’T mix the two multi-line comments. If you start a comment with one star, end it with one star as well.
Tip #2: Indent & Align
Proper alignment is an important, but often overlooked, aspect of your program. While improper indentation and alignment won’t get you error messages, they’ll certainly give you a hard time when you look over your code and try to decipher what you wrote right after you wrote it – or, worse, after an extended period of time away.
Indenting helps show hierarchical structures, which helps you understand how your code is organized.
Consider the code below:
var x = 0;
draw = function(){
ellipse(x, 20, 20, 20);
};
It’s simple code. You can see that first a variable “x” is defined. Then, an ellipse with an x-coordinate at “x” is drawn inside a draw function, which means that the ellipse is drawn over and over again (useful for animating it). While you can probably be able to tell that the ellipse is inside the draw function because this is really simple code, the code would get really hard to read if you were to include conditions, loops, and more shape commands. This problem applies to any programming language, not just JavaScript.
So how can you fix this?
Indent!
Use indenting to clarify that the ellipse function is inside the draw function by pressing tab once more so that the ellipse code appears inside the draw function.
Here’s what the same code above looks like when indented:
var x = 0;
draw = function(){
ellipse(x, 20, 20, 20);
};
In this new code, it’s very clear that the ellipse function is called inside the draw function.
In simple programs, this won’t seem to do much. However, as your programs evolve in size and complexity, you’ll be glad you indented!
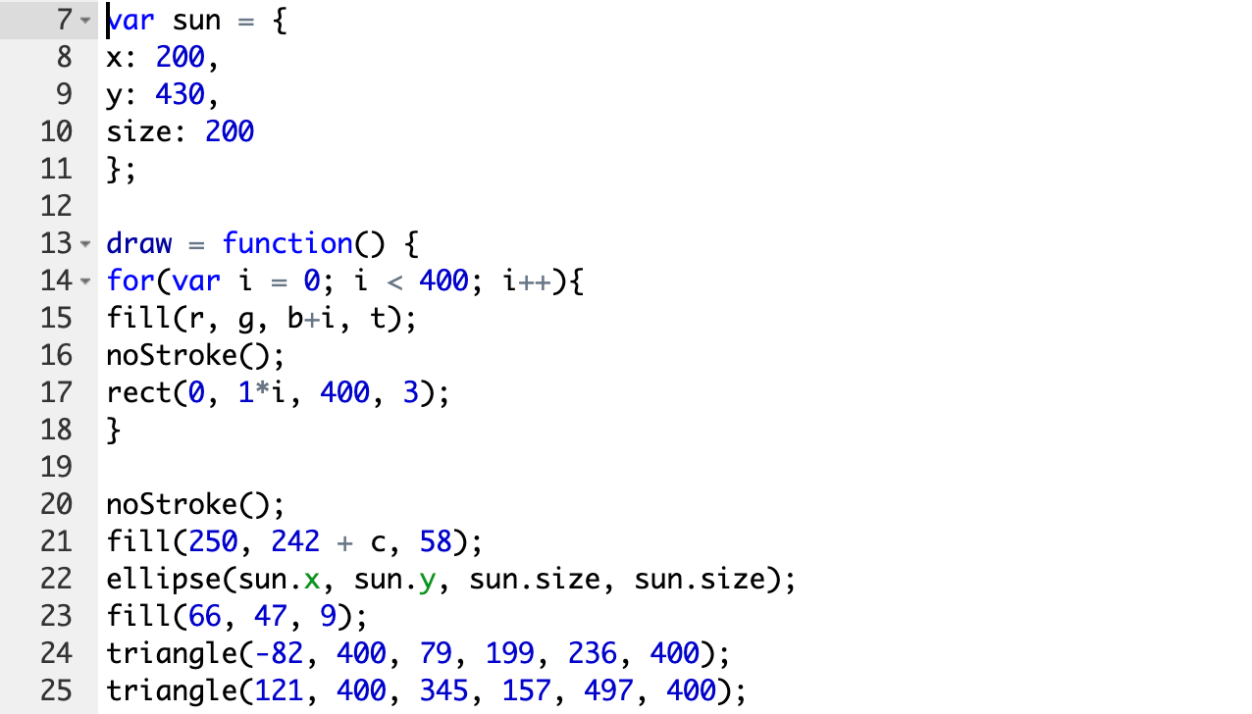
Here’s an example with one of my programs. The first shows an excerpt of the program without indent. The second shows the same excerpt, with indent. See the difference?

Without Indent

With Indent
Tip #3: Replace Clunky Code with Neater Functions
As you move along your coding journey, you’ll learn brand-new functions you can use to do the work of repetitive code with more elegance and efficiency. You’ll realize, as you visit your older programs, that there is a lot of redundant code that you could eliminate with your new-found knowledge. One of my top tips is to replace the clunky code with neater functions. This makes the code more readable and easier to understand, and can also safeguard you against potential errors and bugs. Here’s an example from my personal coding journey.
The first type of loop I learned was the while loop. The while loop has 3 parts that together ensure that a piece of code can be run a set number of times (as long as the expression in parentheses is true), with small changes in between each iteration.
Here’s a sample while loop:
var x = 0;
while (x < 10){
ellipse(20 + x, 20, 20, 20);
x += 2;
}
The code above draws the “circle” at several x-coordinates, increasing the x-coordinate by 2 px each time the code is run. When x = 9, the loop runs for the last time. In all, the loop draws 9 circles. (Why not 10? Because x must be strictly less than 10, so the expression in parentheses becomes false before x can ever equal 10.) If you’d like to learn more about while loops, you can check out the Khan Academy documentation.
While loops did wonders for me when I first learned them. But then I learned a new technique for looping – the for loops. These loops are more compact and condense the three separate parts of a while loop together into one sentence, all included inside the parentheses. Here’s an example for loop, with the same code as above:
for(var x = 0; x < 10; x += 2){
ellipse(20 + x, 20, 20, 20);
}
These two loops accomplish the same task. However, the for loop is much simpler to understand, and prettier, too. It also ensures that I have all 3 essential components of a loop included, because if I’m missing something, I’ll get an error message.
Replacing my old while loops with for loops is one way I’ve managed to clean up some of my projects and make the code easier to understand.
Side Note: What happens if you don’t include all three components of a loop? You get an infinite loop. (They sound cool, but, trust me, they’re a real headache for your browser and you never want an infinite loop unless you’re doing a very technical project that requires one.)
Tip #4: Add Some Math Calculations
Math! What would we programmers do without it?
While you can certainly create many programs without getting into mathematical calculations, adding some math into your code will greatly aid your aesthetics and precision!
For instance, suppose you need to code a pumpkin. You have the body below.

Now you’d like to add some eyes.
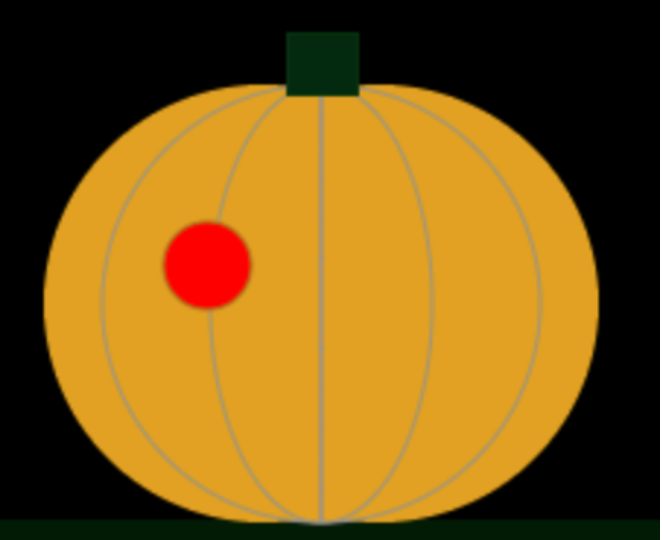
Suppose this is your first eye.

How do you add the second eye?
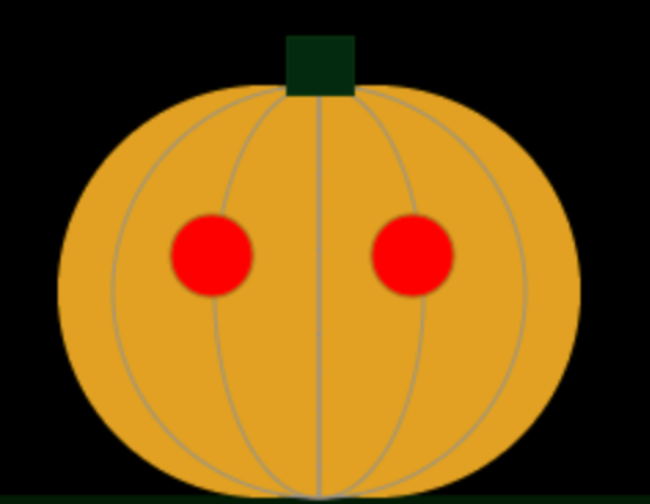
Well, one way you could do it is eyeball where the eye should go. Suppose you get this result:


The pumpkin looks good, doesn’t it?
But how do you know the eyes are exactly symmetrical? The truthful answer is, you don’t. And while perfect symmetry may not matter for circle eyes, what if you had triangular eyes? Then you’d have to eyeball all three points of the triangle, and the result would seem clumsy.
But there’s a solution! It’s called mathematics.
If you know the x-coordinate of the first eye (which, of course you do), you can use a simple formula (or logic) to find the x-coordinate of the second eye.
Let’s go back to the one-eyed pumpkin.


The x-coordinate is at x = 161. How do you use this to determine the x-coordinate of the second eye?
Here’s how to do it.
First, recall that the program canvas is 400 px wide. This means that the center is at x = 200. This also means that the line of perfect symmetry occurs at 200 px. So you’d need to essentially make the second eye a reflection across the line at x = 200, which means the eyes need to be the same distance from 200 px. How you do determine this?
Simple. You subtract.
Subtract 161 from 200 to get 39. This means that the first eye’s x-coordinate is 39 px from the line at x = 200. The x-coordinate of the second eye must thus be at 200 + 39, or 239, px.
If you use this, you get a perfectly symmetrical pumpkin face – see for yourself!
(Note, you might not see the full difference because the guessed eye x-coordinate was 234 px – really close.)


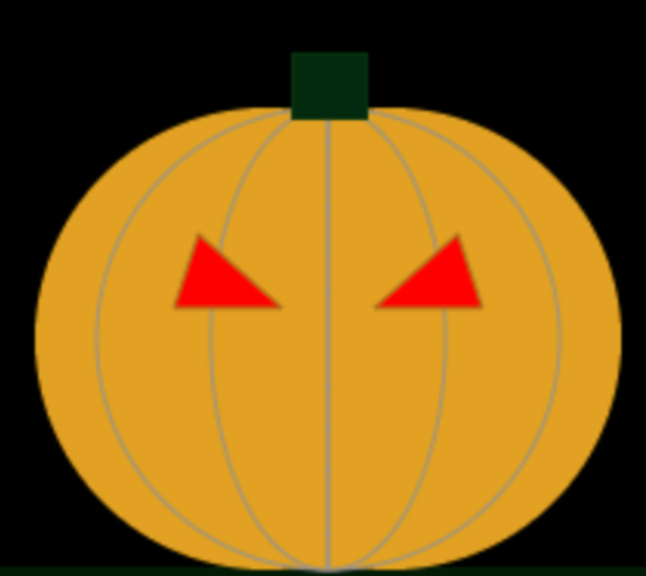
This technique may seem unnecessary for simple eyes. But you can use it to create perfect symmetry in complex faces. See, for example, the same pumpkin with perfectly symmetrical triangle eyes.


Tip #5: Read the Docs & Learn Some More!
Tip #3 is very helpful if you learn new code. But how do you learn new code?
You could take courses, attend STEAM Club Coding meetings, and… perhaps a less exciting activity… read the JS Library documentation!
The documentation contains information on how to use each function found in the JavaScript language (specifically, the JS Library, designed for drawing and animation). You may not need to use all the functions, but the docs are still a great reference. For a good starting list, check out the Khan Academy JS Docs. I highly recommend having a look at the functions listed there. I actually learned a lot going through the shapes – such as how to use beziers and how to create my own custom shapes, which I used to draw the decorations in dinosaur gills – see the dinosaur below.


One more bonus tip: if you’d like to see new code in action, check out other programmers’ Khan Academy projects. Head over to Computer Programming > Browse Projects (you’ll have to scroll down) to see some cool programs created by other Khan Academy users. You can take inspiration from them and even dissect the code of complex projects that you like. I recommend creating a “Spin-Off” of the projects you like so you can refer to them later, and then spending some time going through the code and tweaking it a bit to see what it does. The best programmers will leave you some comments to make this process easier. You might just learn some new things.
Summary & Final Notes
Here’s a summary of my five tips for improving your programs.
Tip #1: Comments.
Add comments to make your code more readable and explain what various sections of code do. You can use either single or multi-line comments.
Tip #2: Indent & Align.
Use indenting to show hierarchical orders in your programs. This helps you understand and more easily modify your code’s structure and organization.
Tip #3: Replace Clunky Code with Neater Functions.
As you learn new functions, you’ll often find neater ways of doing the work of clunky code. Replace the clunky code to make the code easier to read, interpret, and troubleshoot.
Tip #4: Add Some Math Calculations.
Use math to make your programs more symmetrical, and prettier.
Tip #5: Read the Docs & Learn Some More!
Use the Docs as references and as a way to learn new functions! Also, consider looking at the projects of other Khan Academy users to learn new commands or creative uses of commands you already know.
Happy programming!
New to Pearson Online Academy? Learn More Here.
